N4 SVG Gauges
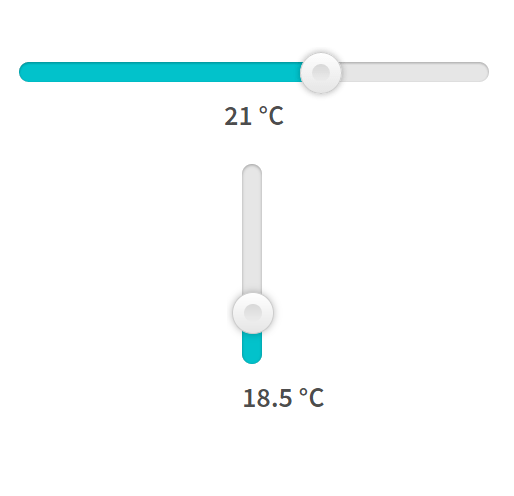
- Choose from 7 different styles
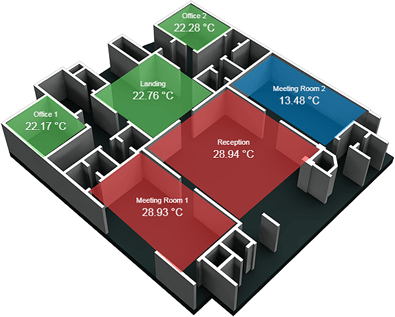
- Updates in Real-time
- Change spectrum colours
- Modify stroke, font, and other attributes
- Works in Workbench and Browser mode
The SVG Gauges shows 7 different svg style gauges. Bind the gauge to a numeric and the value updates in real-time. Change spectrum bindings to different colours. Choose from 7 different styles. Before you start, copy the svgGauges-ux.jar file to your modules directory. Restart the station and Workbench.
Are you looking for a cost effective way to manage and visualize data for all your customers? Why not have a look at View Builder?
Before you start. Download the modules from our portal (see your order confirmation, which also explains licensing). Copy the modules file to your modules directory. Restart BOTH station and Workbench.
1. Copy the svgGauges-ux.jar file to your modules directory.
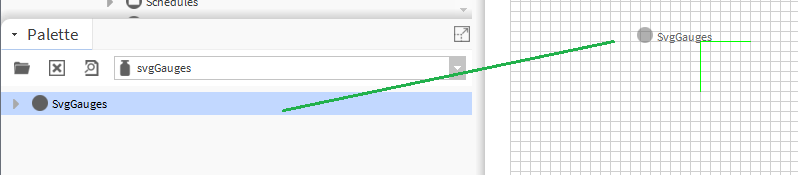
2. Open the module from your palette file.
3. Drag and drop the widget from the palette onto your px view.
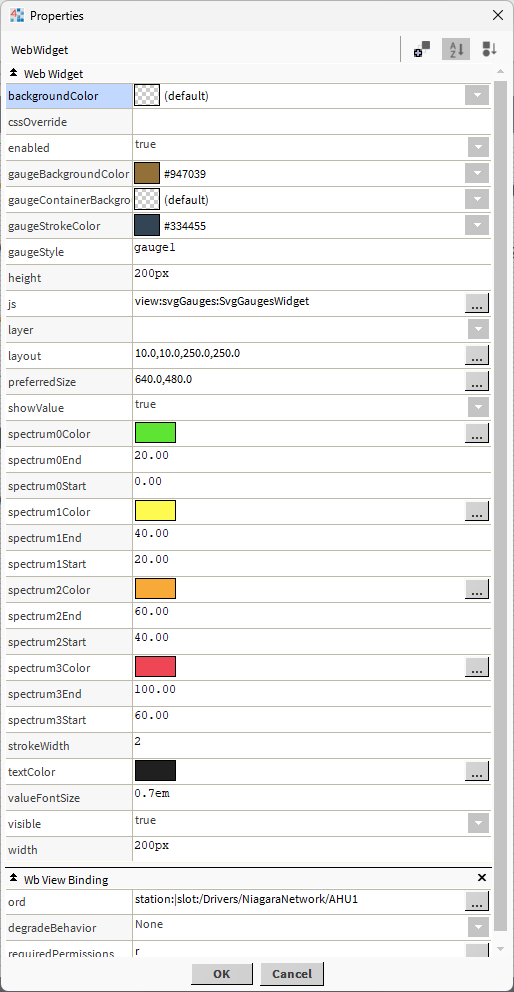
Ord:
Bind to a numeric. Make sure facets are set on point. E.g. min/max/units.
Tags references (relative or absolute) can also be used e.g.
station:|slot:/Drivers/Equipment/
Fan$20Coils/FCU1|neql:ws:status|single:
Gauge Style:
Upto 7 different styles. gauge1, gauge2, gauge3, gauge4, gauge5, gauge6, gauge7
Adjust stroke width as required.
Height, Width:
Size of the transparent box on screen. Can be in pixels or percentage. E.g. 1px or 1%.
Background Color:
Can be transparent or a color choosen from the color palette.
Stroke Width:
Defaults:
gauge1: 2
gauge2: 10
gauge3: 5
gauge4: 10
gauge5: 5
gauge6: 20
gauge7: 5
CSS Override:
This is where you can enter css styling of your choice. You must remove line breaks from the value. For example you could enter the following to create a transparent background when using an hx profile.
body { background: transparent; }
.hxPx { background: transparent !important; }
Build Your Own dashboards and win Projects by showing data that increase value and reduces expenditure.